Photographing in Your Home Using Natural Light — Top Tips from a Professional
Posted on
February 27, 2018
Are you frustrated with the quality of the photos taken in your home? Indoor photography can be extremely frustrating if you don’t know what you are doing. I’m here to help!
Besides mastering your camera on manual mode, lighting is (in my opinion) the most important factor in creating beautiful photos. Indoor photos can be very challenging with harsh shadows and unflattering color casts.
Today I’m going to focus on taking photos indoors. Your home may not seem like the most exciting location for photos, but it can be! Capturing your little ones in their element and at a place you spend much of your time is the perfect way to capture those memories that you often forget years down the road.
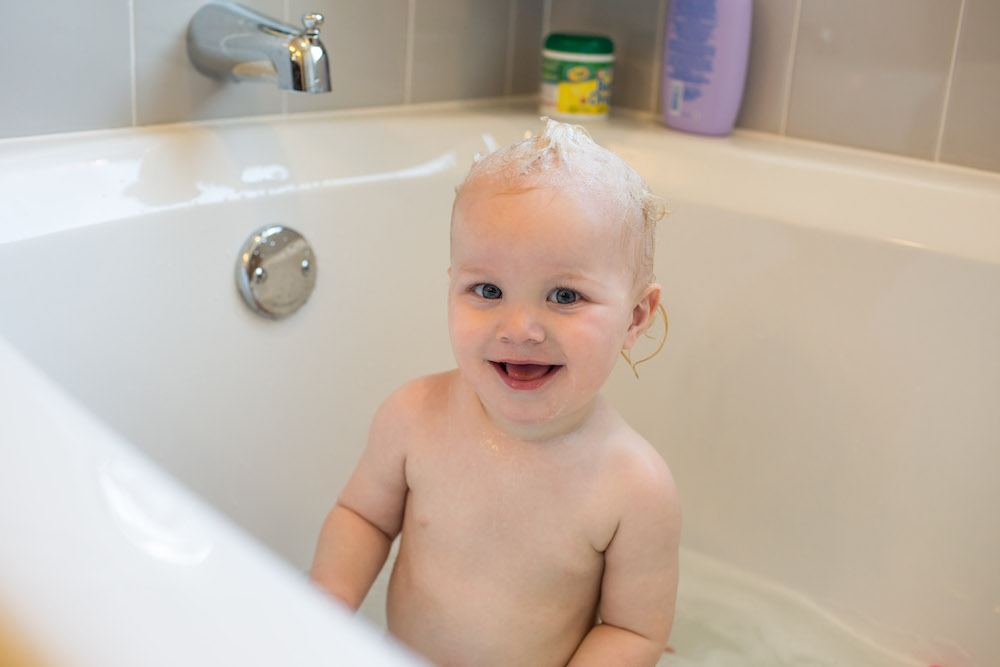 One of my go-to spots in my home. My master bath has a tub that has a large light right next to it.
Here are my top 9 tips for photographing in your home (or in an indoor location):
1. Turn off the lights.
Unless it’s night, turn your lights off and use 100% window (and/or door) light. Trying to get a correct color balance with a house that has natural light filtering in as well as fluorescent overhead lights/lamps is tricky. It can also create icky skin tones and odd colors (hello, orange!). Also, being that the light is typically overhead, this can create unflattering shadows that exaggerate eye bags and wrinkles if your subject is directly below the artificial light source (oh, heck no)!
2. Photograph in areas with good natural light.
I love using large windows that are closer to the floor (if possible) as well ones that are large. The larger the light source (window/door) = the softer the light (which means less shadows/softer light on your subject). There are times where I like to play with a smaller light source (for a dramatic look), but 90% of the time I’m looking for a larger, softer light source.
Also, I like to position my subject at a 45 degree angle to the light source vs. straight on. Even a 90 degree angle can work well, especially if you have a reflector (see below). Don’t worry if your subject is straight on though. Kids are often moving and it’s hard to get them positioned exactly how you want it. The thing I love best about in-home sessions is the light is slightly imperfect and we use what is available to create images that look like they were taken in YOUR home. I am a strong believer in EMOTION over PERFECT TECHNIQUE in certain situations. Don’t miss your kids playing with each other because the light isn’t perfect. Learn to change settings, use what’s available and use your speedlight if necessary.
3. Time of Day
Depending on the direction of the room you are working in (N, S, E, W), the light may be different. Some rooms have light that is soft and evenly dispersed, where others have light that beams in and creates harsh light that floods on floors and walls. Unless I’m going after a dramatic look, I prefer rooms with soft light vs. ones that have bright streaks of light that beams in. This may determine what time of day and which room you photograph in.
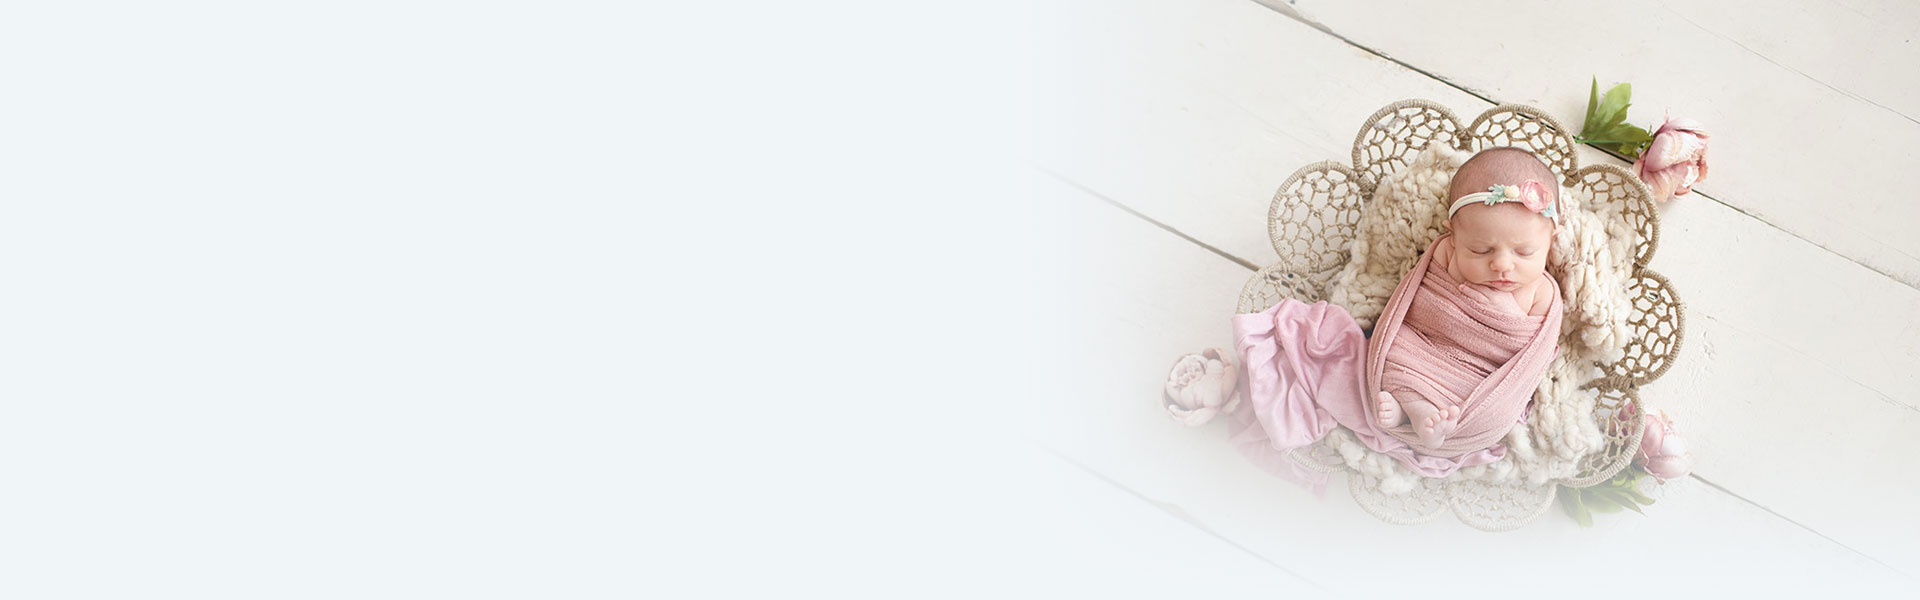
 Subjects positioned close to a smaller window on a cloudy day. Subjects placed at a 90 degree angle to the main light source. Turning them slightly to a 45 degree angle will decrease shadows (or a reflector works well).
4. Distance from Light
The closer your subject is to the light source, the softer the light will be (if exposed in camera properly). If you subject is farther away, you will have harsher shadows and flat, dull light. I typically like to position my subject very close to the light source and I adjust my settings on manual as needed.
5. Get Away from using your Pop-Up Flash
The pop up flash will create bright direct light, red eyes, and harsh shadows. I absolutely never use mine (my current camera doesn’t even have one). If possible, I always use natural light. Working with your available light is a great free source of light.
If you have to photograph at night indoors, I recommend adding a flash to your hot shoe (the silver part on the top of your camera). There are many inexpensive ones and you can bounce light off walls or the ceiling to create a softer lit image. If you don’t want to go that route, buy a diffuser or something
like this to diffuse the light and create a softer photo.
6. Use a reflector!
A reflector is one of the cheapest and most important photo tools I have on hand. I use it to bounce some light back on my subjects on a cloudy day (which creates more shadows and overall less light). Here’s a bonus too-they are SUPER easy to construct yourself! All you need is a large piece of white poster board and viola! You now have a reflector. Hold this opposite your light source near your subject to bounce some light on their face.
7. Use AP or Manual mode
This is one of the best ways to control your light and your overall image. Shooting on auto is not much better than shooting your subject with a new iPhone. Shooting on manual mode (or AP mode) indoors is incredibly beneficial because you can control the depth of field (create the blurred look in the background). Indoor photos usually have some clutter or busy backgrounds, so reducing your depth of field and focusing on just your subject/s can produce a much more pleasing photo.
Learning to shoot in manual is scary but can be learned quickly with the right resources. Make sure to sign up for my newsletter here to receive more awesome tutorials and get first dibs on my online photography workshop I’m rolling out later this spring!
8. Find those go-to places
In my house, I love photographing in my master bath, which has a large picture window right next to the bathtub (and bath time almost always creates fun, natural photos of my littles). I also love my kitchen-it has plenty of available light. I love my kitchen table-my kids are typically sitting at a 90 degree angle to a large sliding glass door, which creates great light in a location they are often hanging out, doing those daily things we often take for granted. Snap some shots of them painting, eating, or playing board games. Other great spots are in the crib (best for beginners if it’s on a wall opposite or next to a decent sized window, master bedroom, play room, etc).
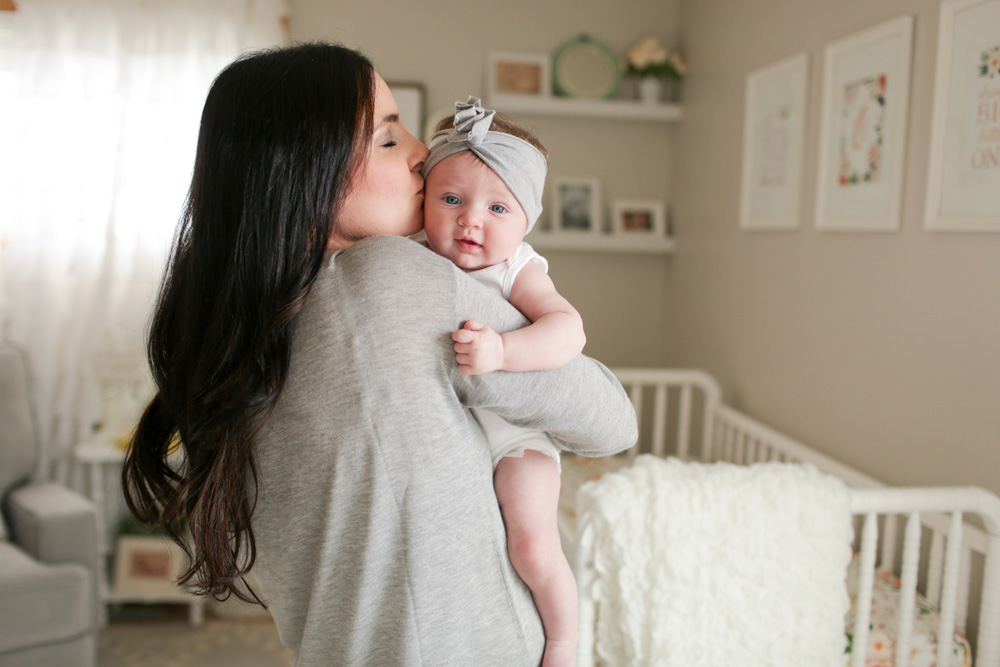
 Crib was a perfect spot to shoot this active one year old! It was on a wall that was 90 degrees to the window.
9. Just start shooting!
It’s totally scary to learn new things, but it takes time and practice. Grab (or buy) a cheap reflector and speed light and practice bouncing light. Position your little ones in different rooms with available natural light (playing with toys or doing something natural if they don’t sit still like my toddler) so you can really start practicing and finding which rooms you like best for lighting. Don’t be afraid to not take perfect images (especially while you are learning). Sometimes, we get into moments where we don’t have time to compose and adjust lighting, especially when we are still learning. These moments only come once in a while, and may be one you don’t want to miss! These are one of the rare moments where I would find AUTO mode acceptable (I did this the first year I was learning manual if I didn’t want to miss a shot).
I hope you enjoyed this tutorial! Leave a comment or question below 🙂
XO,
Meghan